
"From Concept to Creation: The Fascinating Process of How Your Rubber Stamp is Made"
Creating a self-inking stamp involves several steps and requires specific materials and equipment. Here is a step-by-step guide on how we make self-inking stamps:
Materials and tools we use:
- Design template or artwork for the stamp
- Stamp-making software or graphic design software
- Stamp rubber or polymer material
- Laser engraving machine
- Self-inking stamp mount
- Stamp ink
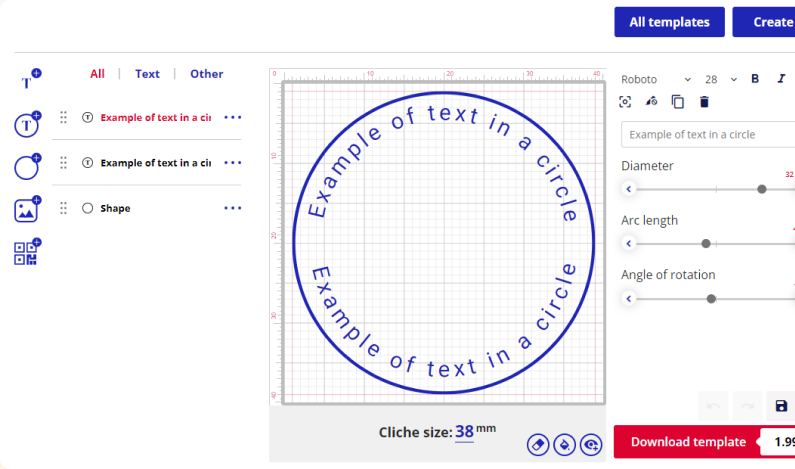
Step 1: Designing the stamp
- We Start by designing your stamp artwork or template. We use stamp-making software or graphic design software to create your design. We ensure that the design is suitable for a stamp, with clear lines and shapes.
Step 2: Preparing the stamp material
- We choose a stamp rubber or polymer material for your stamp. We make sure the material is compatible with the stamp mount that we will be using.
- We cut the stamp material to the desired size, slightly larger than the intended stamp design.
Step 3: Transfering the design
- We transfer your stamp design onto the stamp material. We use the Digital method whereby we print your stamp design onto a transparent film or use a laser engraving machine to transfer the design directly onto the stamp material.
Step 4: Engraving the stamp design
- We use laser engraving machine, that follow the computer software instructions to engrave the stamp design onto the stamp material. This method provides precise and detailed results.
Step 5: Mounting the stamp
- We use self-inking stamp mount. These mounts typically have an integrated ink pad and a mechanism for retracting the stamp.
- We attach the engraved stamp material onto the mount. We make sure the design is facing upwards and properly aligned.
Step 6: Testing the stamp
- Before using the stamp, it's a good idea to test it on a stamp pad or scrap paper. We press the stamp down firmly onto the pad and then apply it to the paper. We check if the design transfers well and adjust if necessary.
Step 7: Inking the stamp
- Self-inking stamps have an integrated ink pad. We open the ink pad compartment and apply a suitable stamp ink to the pad. We Use ink specifically formulated for self-inking stamps to achieve the best results.
- We then close the ink pad compartment securely.
Step 8: Your stamp is now ready for use
- Your self-inking stamp is now ready to use! Press down on the stamp to activate the mechanism and ink the stamp design. Apply the stamp onto the desired surface with even pressure to create a clear impression.
Remember to clean the stamp regularly to maintain its quality and prevent the ink from drying out. Follow the manufacturer's instructions for proper care and maintenance.